How To Use Boom Cards™ In Your Classroom

Boom Cards™ are my favorite tool for digital learning in my classroom! They are colorful, fun, and engaging! My students are able to learn the same skills that we were learning on paper through a fun digital platform. Plus, it is SO EASY for me to use. When I first created my account, I was able to have my class set up, students added, and passwords created within MINUTES… Not HOURS like so many other digital platforms that I learned when virtual learning kicked off.
Once my class was created, all I had to do was assign the cards I wanted my students to play and we were ready to go!
What Are Boom Cards?
You might be wondering what exactly are Boom Cards anyways? What can I use them for? How will they fit my classroom needs?
The beauty of Boom Cards is that I can create digital activities for any standard that I am teaching in my class. Boom Cards are simply digital task cards that can be played on a tablet, android or iphone, or a computer. It honestly feels like you are playing a game!
Why I Love Boom Cards
There are so many reasons that I love Boom Cards, but to keep this short, I made a list of my top favorite things:
- Engaging
- Easy to Use
- Interactive
- NO PREP
- Paperless, Digital Resource
- Reports Available for Teachers
- Self-Checking = No Grading for You!
Want to Try Out Boom Cards?
Getting started on Boom Learning is so easy! You have two main options. You can either assign “Fast Pins” through a free account, or you can pay a very small fee (around $15) for an annual membership that gives you access to detailed student reporting. Either way, you will set up an account on Boom Learning where you will assign the Boom Card decks to your students.
Fast Pins
Maybe you want to just assign a link to your students in your Google Classroom or Seesaw account, but you don’t want another log in to Boom Learning. With a free teacher account, you can assign the Boom Cards you are buying with “Fast Pins.” This is simply a link that launches the game, and students play immediately. This type of play provides instant feedback for self-grading Boom Cards, but you won’t see the reporting on how your students did. Fast Play is a free way for students to engage with Boom Cards decks.
Paid Teacher Account
For additional assignment options you’ll need to open a premium account. If you are new to Boom Learning, you should be offered a free trial of Boom’s premium account by going to http://bit.ly/BoomTrial. By opening a premium account, you will receive detailed reporting on all the Boom Cards that your students play. My teacher heart LOVES this! You will be able to see how many cards in each deck that a student has mastered.

You can also look at detailed reporting of each time a student plays a deck. The data shows you the amount of time they were playing the deck and the specific stats of the game play. Here is an example of a round of play from my Learning Colors Boom Cards.

My students especially love seeing their lifetime scores and achievements on their dashboards.

I Created an Account, Now What?
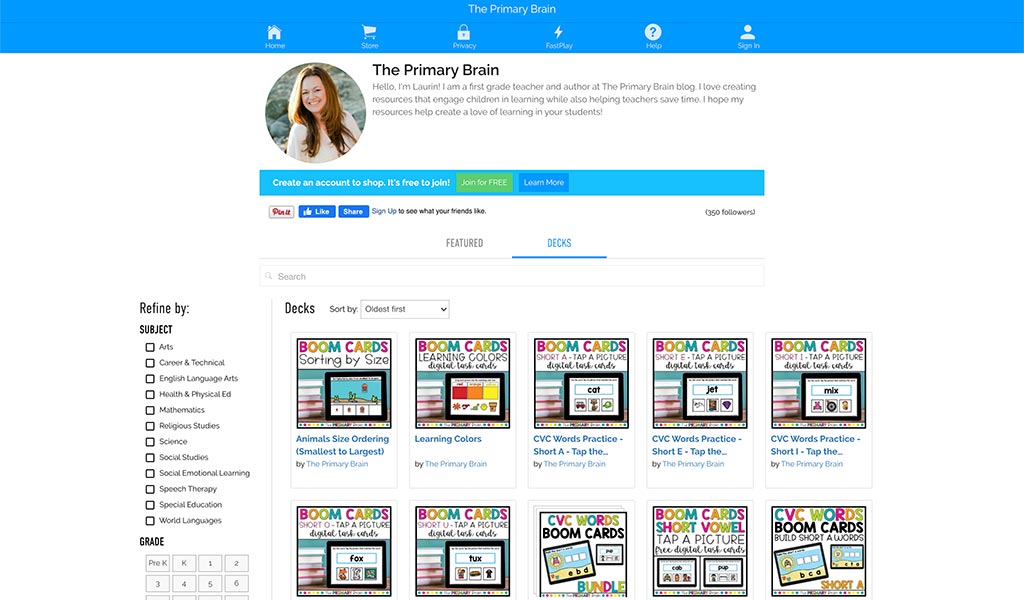
Once you have created an account, it is time for you to start assigning Boom Card Decks to your students. There are tons of free and paid decks available on Boom, or you can grab Boom Cards from Teachers Pay Teachers. Click here to check out my Boom Cards Shop. Once you open a Boom Card Deck on Boom Learning, click the “Full-sized Preview” button to try playing a few sample cards. Or just click here to try out one of my CVC word decks.
How Do I Make My Own Boom Card Decks?
I want to make it as easy as possible for you to start using Boom Cards, so I created this How To Create Boom Cards FREE GUIDE to help you get started with creating your own Boom Cards. This guide walks you through every step from start to finish to create an interactive, clickable deck with audio! I hope this helps you! Please feel free to reach out on social media @theprimarybrain if you have any questions. I am happy to help!

This post may contain Amazon affiliate links. I earn a small commission each time someone makes a purchase through one of my affiliate links, which helps to support The Primary Brain blog. As always, I only recommend products that I love and all ideas shared are my own.
Written on May 27th, 2020 by Laurin Brainard