Pumpkin Toddler Activities
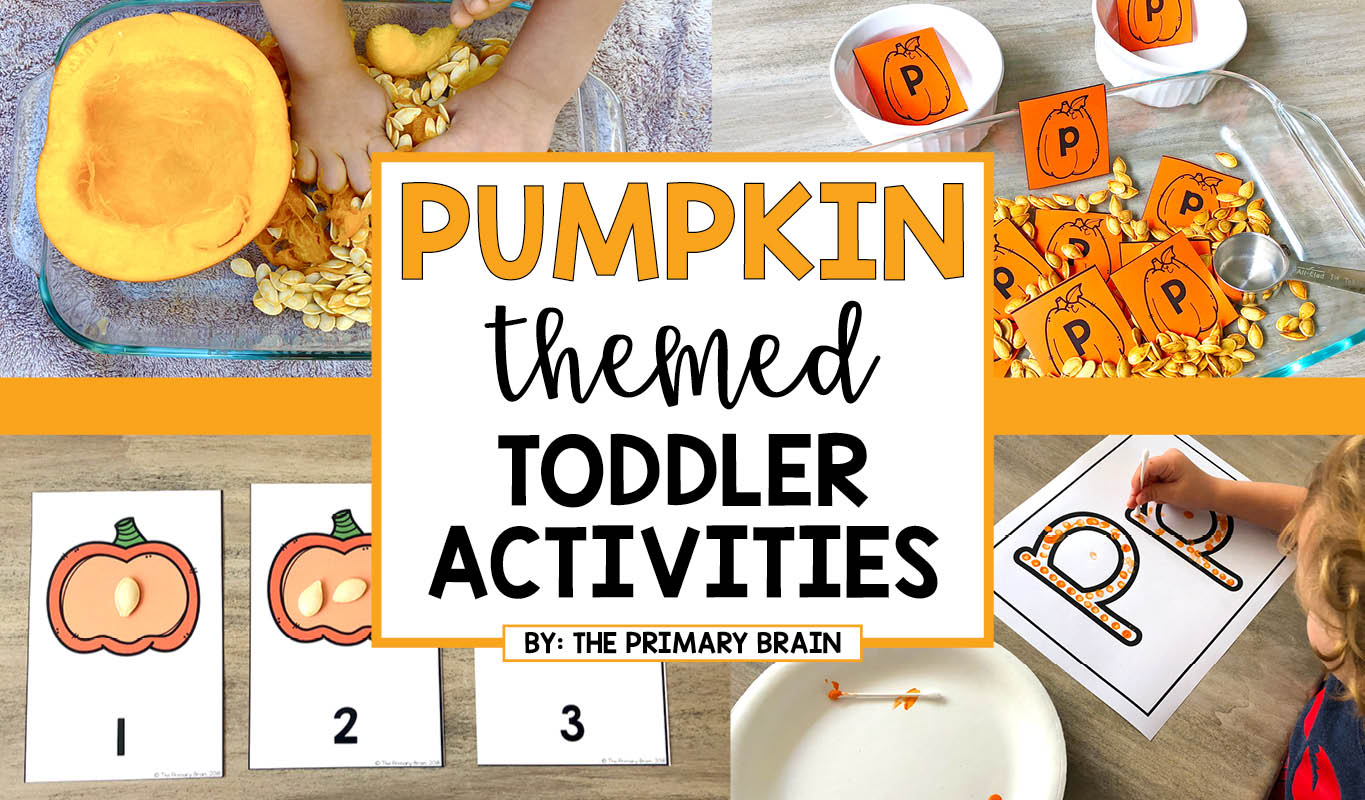
September is here and that means it’s time to start planning pumpkin toddler activities for your little ones! I created this Pumpkin Themed Toddler Unit to bring a bit of the fall season into your home or classroom.
If you want to learn more about how to get started planning activities for your little ones, download my FREE guide for everything you need to know about the skill areas we incorporate into toddler lessons:
Lesson Components
This unit is made up of 5 lessons that will each work on the following activities:
- literacy/language
- sensory bin
- math and science activity
- fine motor activity
- gross motor activity
- art activity
Interested in downloading these pumpkin activities that you can print and use right away? Click on the image or button below to check them out in my TpT shop!
Art Activities
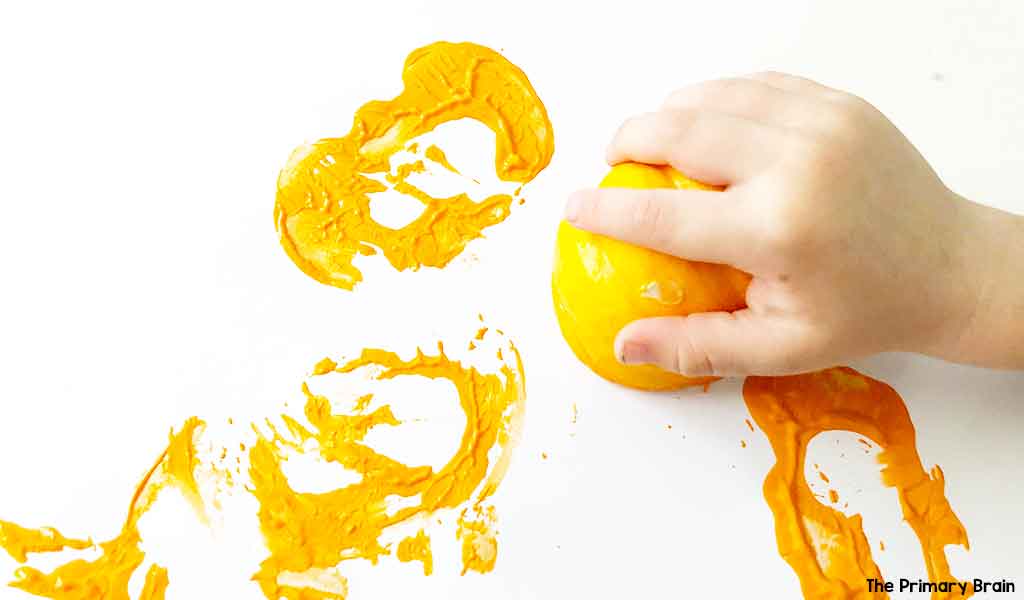
To kick off the unit, grab some mini pumpkins and liquid paint to have some fun stamping! First, cut a mini pumpkin down the center from the top stem to the base of the pumpkin. Have your little one dip their fingers into the pumpkins to remove the flesh and seeds. Then, use the flat, cut side of the pumpkin to dip into paint on a paper plate. Then, stamp the pumpkin onto a piece of construction paper. Repeat several times and watch the magic happen!
This is a great opportunity to work on mixing colors to see how combining primary colors will also create new secondary colors.
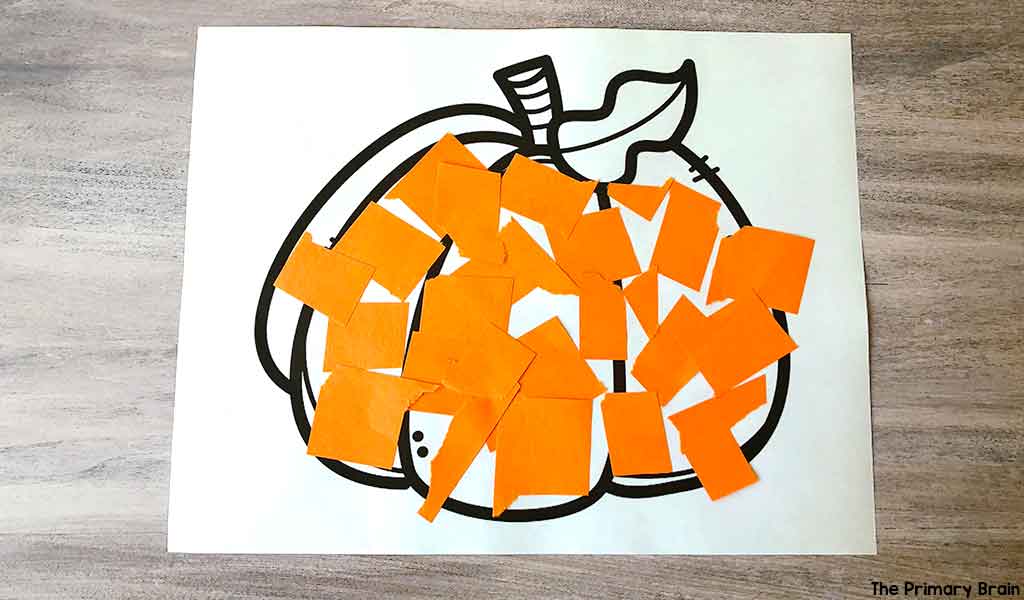
Tearing, cutting, and gluing are excellent fine motor practice opportunities. For this art activity, you will give your child the pumpkin printable from the unit, strips of orange construction paper and kid friendly scissors.
Your child will cut and tear the orange paper strips and glue them onto the pumpkin until it’s filled in. The tearing motion helps your child build up hand strength and endurance in those small hand muscles. Plus, they’ll create an adorable pumpkin craft you can hang on the fridge and admire!
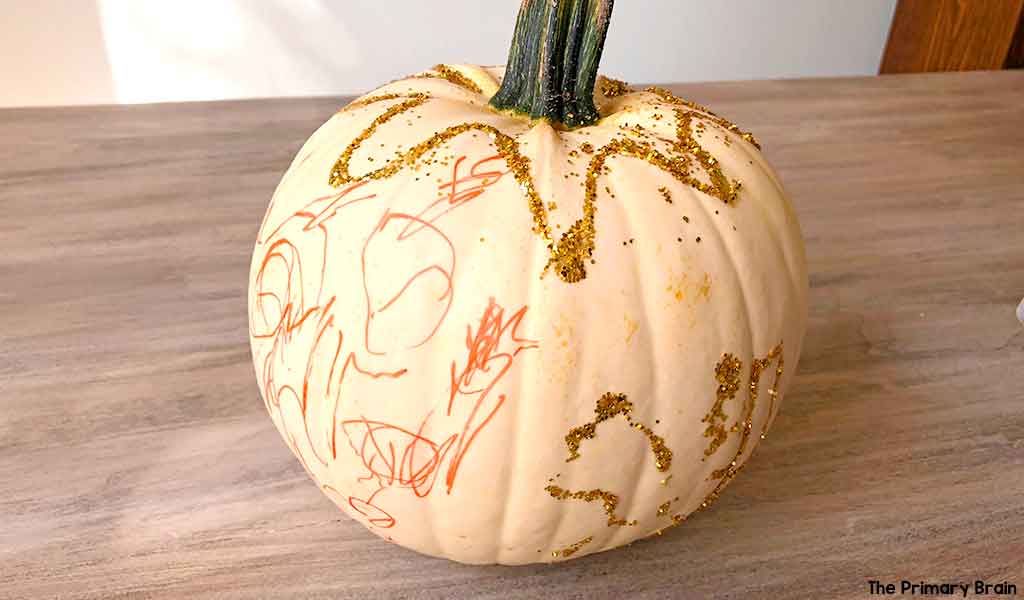
This real pumpkin decorating activity was so much fun! We kept our decorated pumpkins out for the entire month of October and my son was so proud of his pumpkin everytime we walked by it. Grab any art supplies you have on hand to let your child decorate a real pumpkin. Markers, glitter, sequins, feathers, glitter glue pens, stickers, and any other art supplies can be set out for your child to select from. Make sure to allow your child’s creativity to shine through and have fun!
Fine Motor Activities
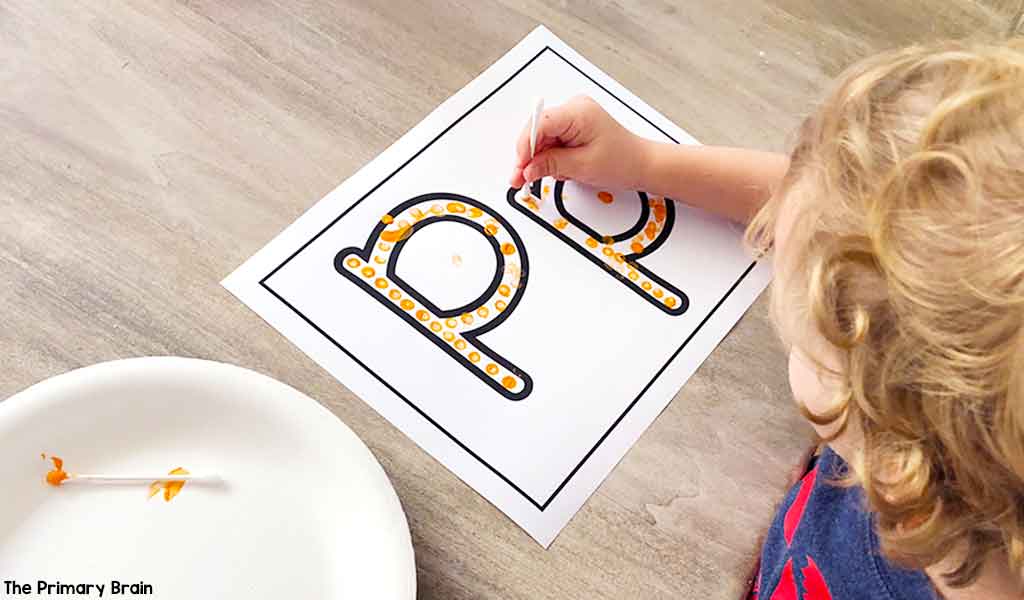
I often talk about how important fine motor skills are for young children to practice. That’s because they skills will help your child succeed when he or she reaches school!
For this first fine motor activity, you’ll place orange paint on a paper plate and give your child a q-tip and the letter P printable. Your child will use the q-tip to dot paint inside each small circle. This can be tricky at first, but it is an excellent way to build hand control. As they dot, use the vocabulary words inside and outside of the dots to help your child develop new positional vocabulary.
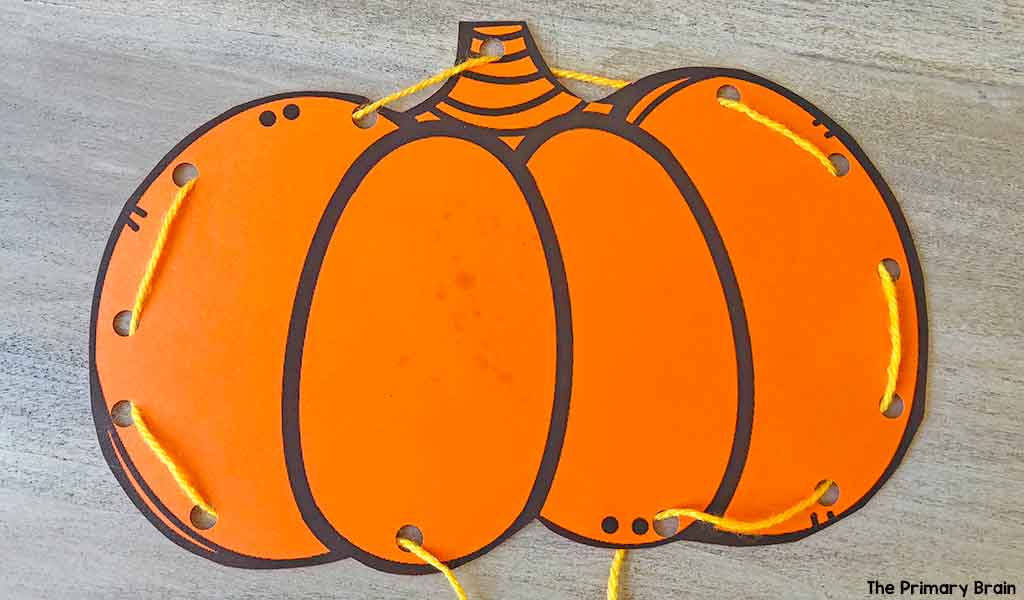
Get ready for lacing! You’ll prepare this activity for your little one by printing a pumpkin and using a hole puncher to punch holes approximately an inch apart around the pumpkin. Your little one can use yarn or a shoelace to thread through each hole around the pumpkin.
A quick tip: If you’re using yarn, make sure to wrap some tape around the edge of the yarn your child will be lacing. This will help to ensure the yarn doesn’t unravel and makes the threading a little easier!
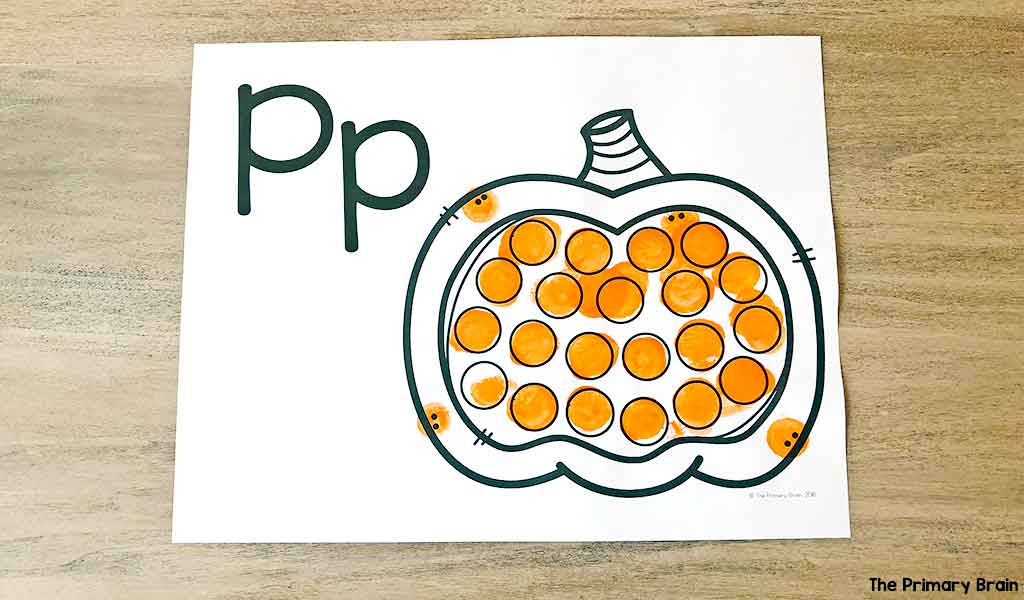
This dot marker activity integrates shapes and colors with fine motor practice. You can review the circle shape with your child, and give your child an orange dot marker. You can also use brown and green for the stem and leaves. You’ll review the letter Pp and show your child how to fill in the dots by using the dot marker. It’s okay if your child is still mastering dotting inside the circles, just remind them to dot inside, not outside the circles and you hand over hand motions as needed.
Learn even more about what fine motor skills are in this post: What are Fine Motor Skills?
Sensory Exploration Activities/Bins
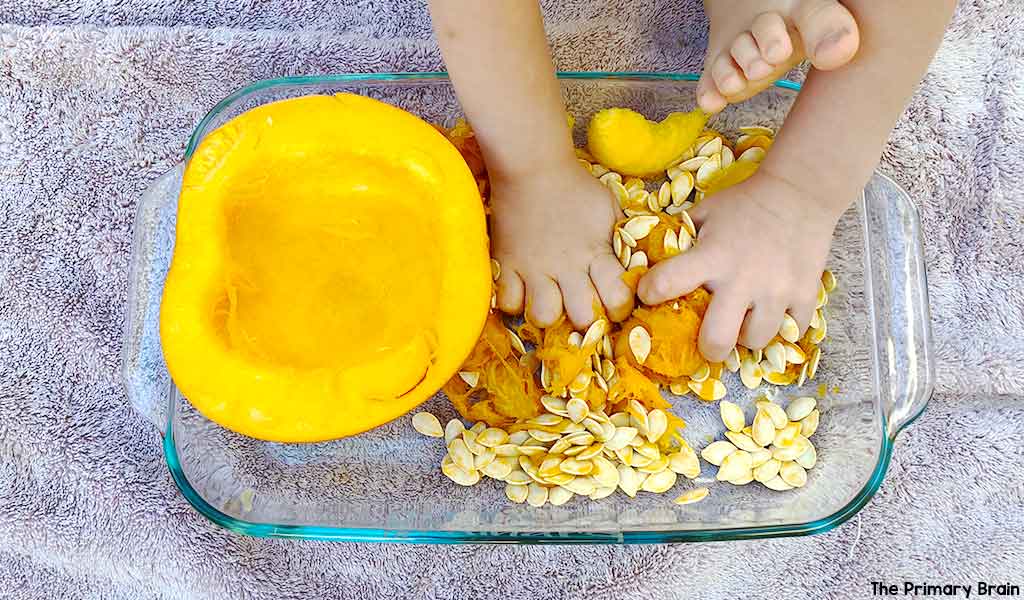
Sensory exploration activities are great for little ones because they encourage the development of motor skills, support language development, and encourage problem solving.
Our family LOVES carving pumpkins, and with that comes pumpkin guts! For this fun sensory exploration activity, place all those ooey gooey pumpkin guts into a container, and let your child have some fun and get messy! Get ready to hear the squeals of excitement (or disgust..lol!) as they explore! Make sure to place this container on a large towel or blanket that can be easily washed, or you can do this sensory activity outside.
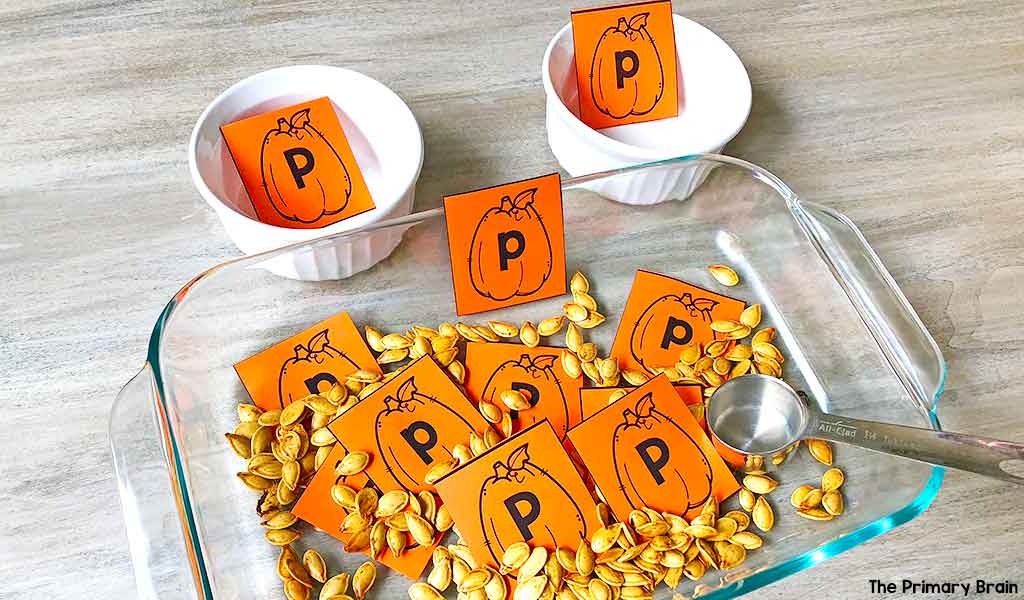
Once you’re done with the pumpkin guts, wash and save the seeds! Place them in a bin and add the letter P/p cards. This is a great way to combine sensory experiences and academic activities! Your child can scoop up the pumpkin seeds while sorting uppercase and lowercase letters. As you help your child, make sure to use the language “big P” and “little p” while sorting. Make sure to include other fun items in the bin like spoons, cups, and bowls so your child can explore and play after sorting the upper and lowercase letters.
Math Activity
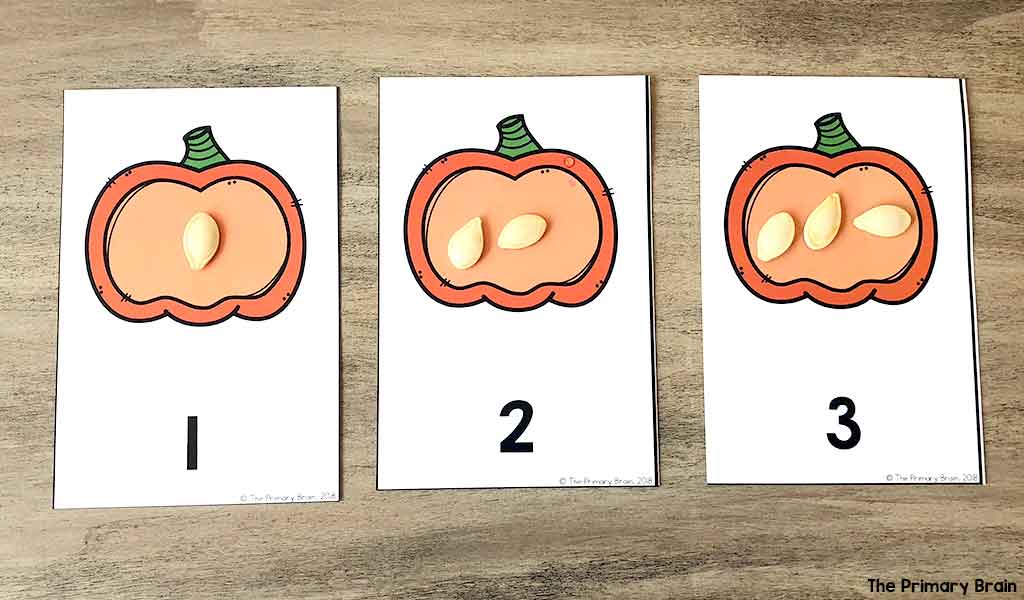
1:1 correspondence is the ability to match an object to the corresponding number and understand that numbers are symbols that represent quantities.
This math activity will help your little one practice and build confidence in 1:1 correspondence. First, provide your toddler with the number match cards and a counter, such as pumpkin seeds.
Help your child in place one counter on each pumpkin while you explain to your child that the number one represents one item while placing counters on each number match card. Encourage your child to count aloud with you. This will help with number recognition and that 1:1 counting.
Science Activities
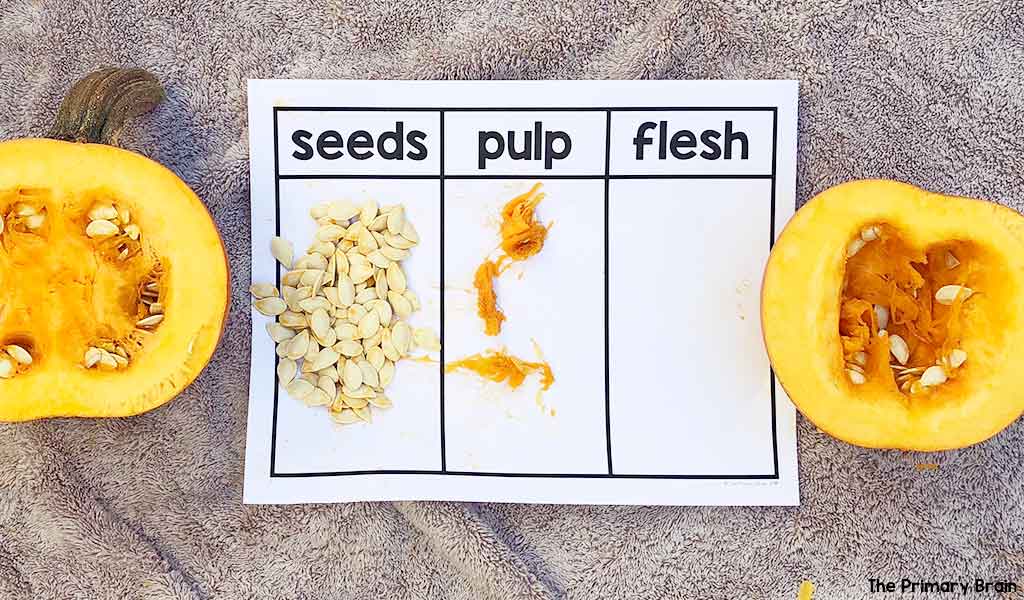
Small children are naturally inquisitive and love to learn through exploration. That’s why I love to incorporate science anytime I can into our at-home learning! Before this first activity, you’ll want to cut your pumpkin in half. Allow your child to pull the pumpkin apart. Encourage your child to pull out the pumpkin “guts.” Then discuss the three parts inside the pumpkin; the seeds, the pulp, and the flesh. Then, have your child sort the parts of the pumpkin into three columns. Make sure to save all the pumpkin parts for the next activities!
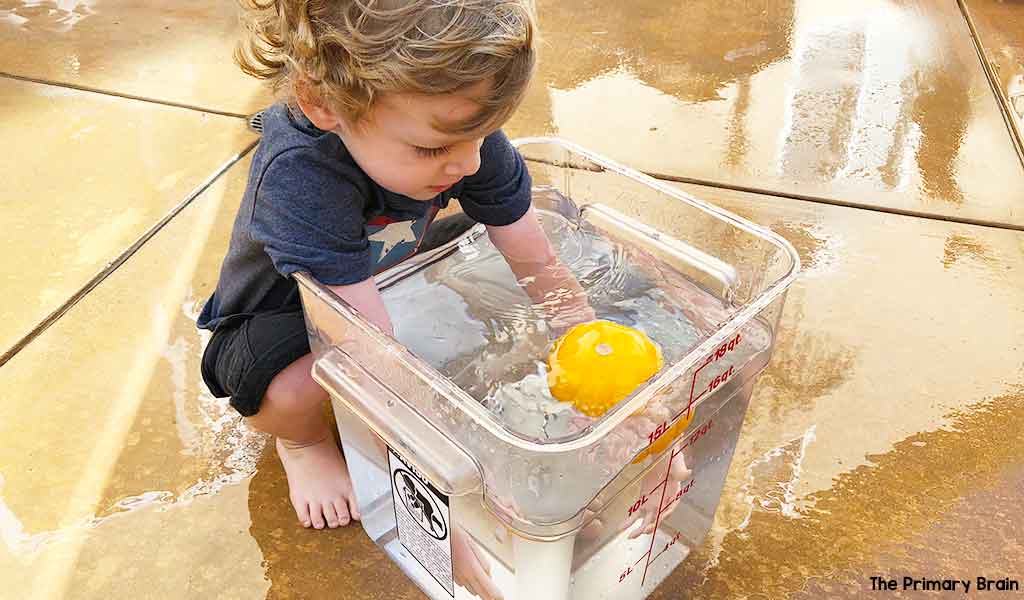
Do pumpkins sink or float? Let’s find out! First, fill up a large bin with water. Ask your child if he or she thinks the pumpkin will sink or float in the water. You might need to explain to your child that sink means it will fall to the bottom, and float means it will stay on the top of the water. Have your child make a guess and then drop the pumpkin into the bin of water! Was their guess correct?
Gross Motor Activity
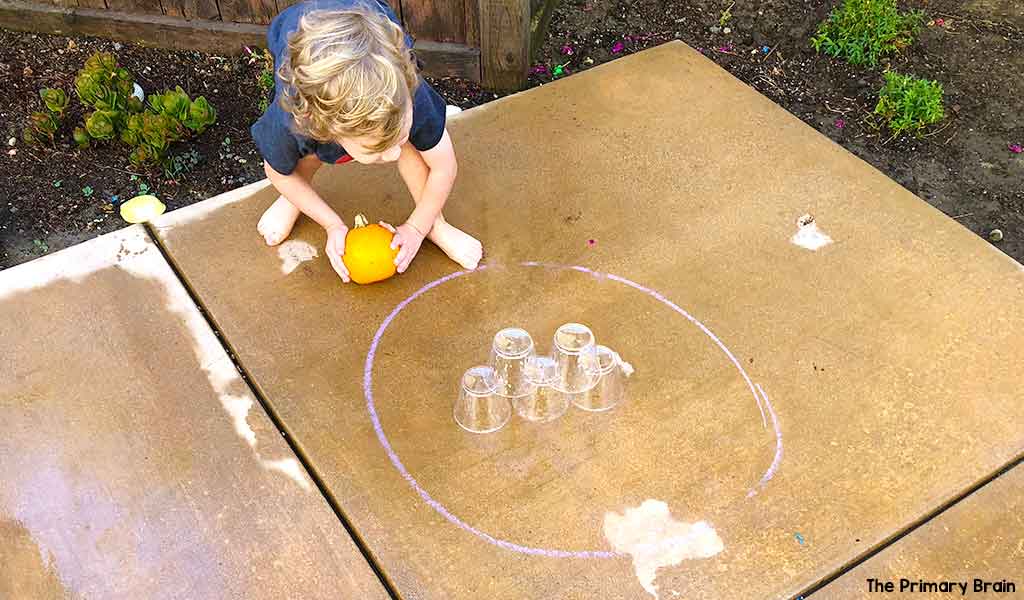
Gross motor skills help our kids develop balance, coordination, body awareness, physical strength, and reaction time. We had a blast with pumpkin bowling! This activity is easy to set up, and it’ll keep your toddler busy and entertained. You’ll want to place several plastic cups inside a chalk circle. Your little one will roll a pumpkin, just like a bowling ball, to try and knock the cups outside of the circle. Your child can keep rolling until all the cups are hit outside the circle.
I hope you found some inspiration and fun ideas to use at home with your little ones during the fall season! If you want to make teaching your toddler super simple this week, check out my Pumpkin Toddler School Unit for 5 complete lesson plans and all the printables you need.
If you need even more toddler school themed units, check out the entire Tot School Curriculum for a year of fun activities to enjoy.

This post may contain Amazon affiliate links. I earn a small commission each time someone makes a purchase through one of my affiliate links, which helps to support The Primary Brain blog. As always, I only recommend products that I love and all ideas shared are my own.
Written on September 1st, 2022 by Laurin Brainard
