How To Get Started With CVC Centers In Your Classroom

By LAURIN BRAINARD Updated July 15, 2024
Getting started with centers can be so tricky! What activities should you use? What can your students manage independently? There are so many things to consider!
When I think about successful literacy centers, I immediately think about material management. You need enough materials to keep all of your students engaged in learning, but they also need to be easy enough to manage that your students can complete the activities on their own.
In this post, I am sharing my favorite tips and tricks for running successful centers, and I even planned out an entire week of cvc word plans and activities for you!
If you haven’t yet used data to form your small groups, then check out this post: How to Use Data to Form Small Groups
Choosing Activities For Your Students
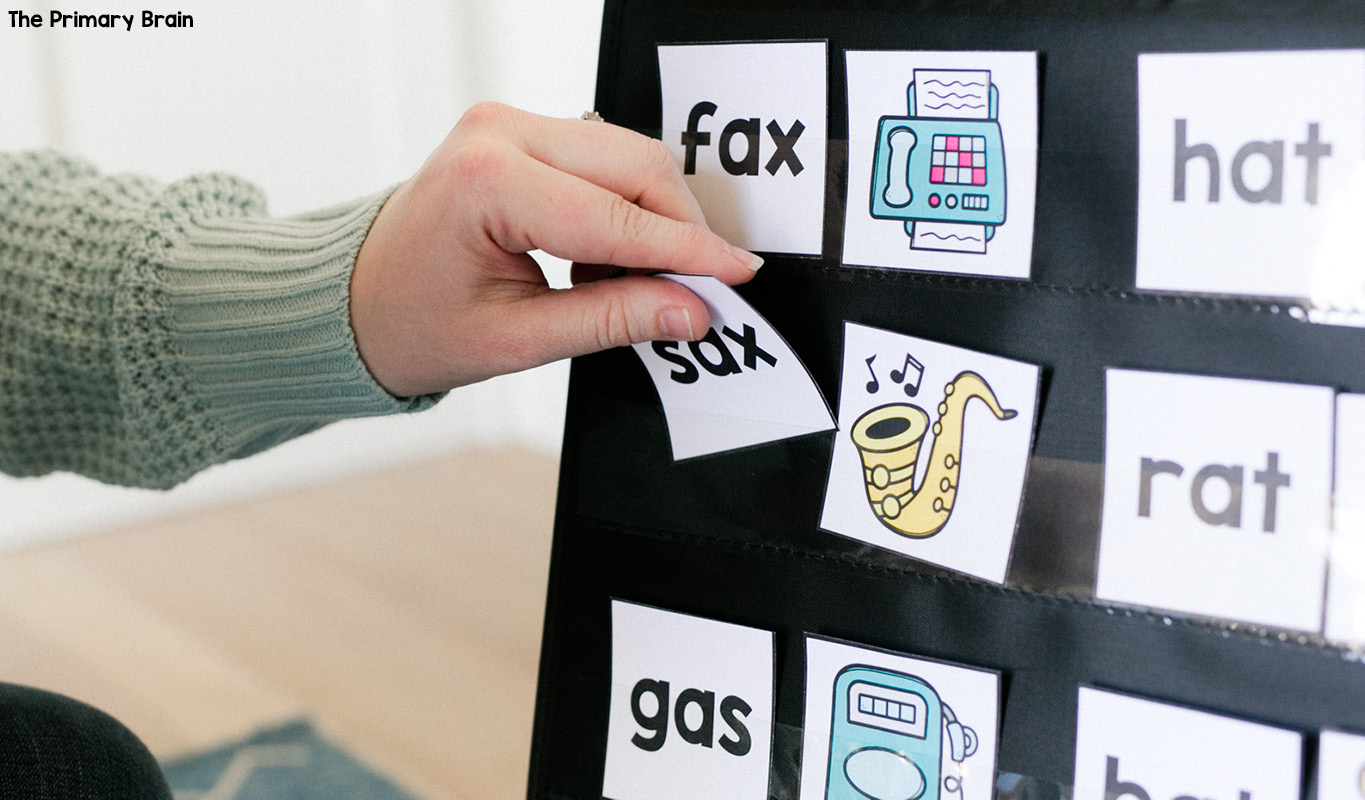
When I choose activities to use during my center rotations, I like to choose resources that can be repeated each week for a variety of phonics skills. This way, I only have to train my students on how to use each center one time, then they can continue using similar activities in the center each week. Here are a few of my favorite types of reusable activities:
- Partner Games
- Write and Erase Cards
- Sheet Protector Write and Wipe Mats
- Task Card Boxes
Starting centers in your classroom is a lot to think about and I want to make it as easy as possible for you! I planned out a full week of -at family centers so you can try out a variety of activities and see what types are your favorite. You can grab them here:
Interested in learning more about what cvc words are? Check out this post: What is a cvc word?
How to Organize Materials
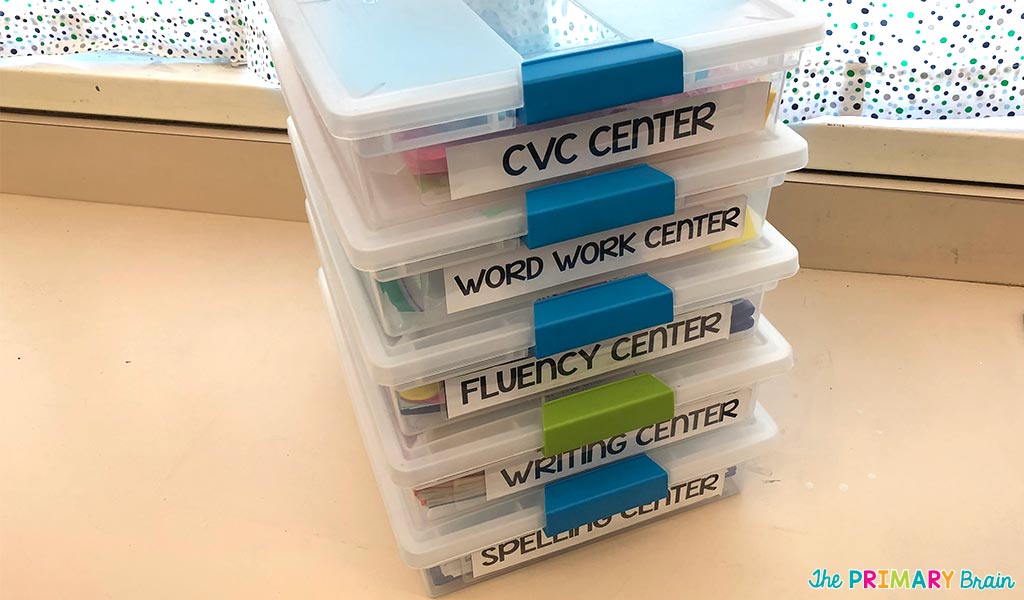
Once you have prepped the activities, it is time to choose a management system! I tried a lot of ways to organize materials over the years and my favorite system is a stack of large clip boxes. They fit sheet protectors, copy paper, cards, and all the small pieces we have in each center. Plus, they stack so they don’t take up a lot of space in my classroom! You can also put a written label, number, or sticker on the front of each bin so your students know which bin to grab.

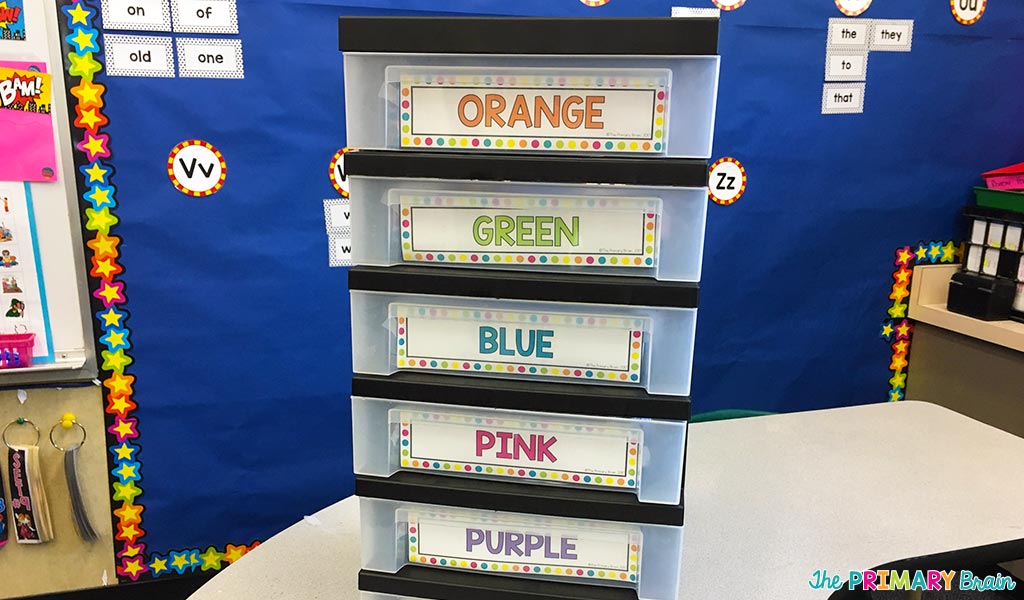
I have also used a 6 drawer tower with labeled drawers for some of our activities. In this style, students will take the materials out of the drawers instead of taking the entire bin to their table group. Both of these methods worked well for me depending on the style of activities.

You can grab these Black and Bright Labels in my shop and edit with the wording that will work best for you!
Practice, Practice, Practice!!
To help your centers run smoothly all year, you will need to practice, practice, practice! On the first day of centers, you will want to practice every step that you want for your students to do independently. Here are a few important steps to practice before they even work on an activity:
- How to gather materials
- Where to sit with their materials
- How to use the materials
- Appropriate voice levels during centers
- Where to put any completed work pages
- How to complete the center activity
- How to rotate to the next center (if rotating)
- How to put away their centers
By putting all of these procedures in place on day 1, you can set the foundation for successful center rotations in your classroom!
Assign a Materials Manager
In my classroom, I like to have one student from each table group be the Materials Manager. This student is responsible for picking up the center bin at the start of centers and returning the bin at the end of the rotation. This way, only a few students are moving around the room at a time and it helps to keep all the materials where they need to be.
Now it’s Time to Learn!

Once you have practiced all of your center procedures with your students, then it is time to use the materials! In my classroom, I like to have the entire class use the same center on the first day to make sure they all understand how to appropriately complete the activity.
Since centers are designed to be independent or partner activities, it is very important to make sure they know how to use the materials independently so that you can work with a small group or complete assessments. Once they understand how to use the center and can complete a rotation on their own, then it is time to add another center.
I usually spend an entire week just practicing how to use centers and I walk around the room to assist students as needed. By setting this foundation, your class can run itself and you will be able to work with your small groups for as long as you need to!
I’m Here to Help!
If you have any questions about getting started with centers in your classroom or what resources you should use, feel free to to send me a message @theprimarybrain on Instagram! You can also click here to save this post for later by pinning to your favorite Pinterest board!
Make sure to grab my free week of centers so you can try out some of my favorite activities. I hope these plans help you in your classroom!

This post may contain Amazon affiliate links. I earn a small commission each time someone makes a purchase through one of my affiliate links, which helps to support The Primary Brain blog. As always, I only recommend products that I love and all ideas shared are my own.
Written on July 26th, 2023 by Laurin Brainard